In order to access media that has been uploaded and/or shared with you via Canvas Studio, you must navigate your browser to Deerfield’s instance of Canvas.
Here is the link if you do not have it bookmarked: https://deerfield.instructure.com
Once logged into Canvas. Click on Studio in the Global Navigation bar on the left.
This will bring you to your Studio account page. The default view is My Uploads. If what you are looking for is not found in My Uploads, you will need to access Shared with Me.
Click on the 3 blue bars to the left of My Uploads

Click on Shared with Me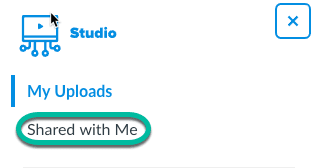
You will now see all videos that have been shared with you. You can now view the film from here, embed it in a page, assignment or module for students to watch.
NOTE (July 24, 2019): At this time the makers of Canvas have not renamed the Arc LTI to Studio LTI. These instructions use the Arc name for consistency. Everything will be updated once the name of the LTI has officially been changed.
——
In Canvas, users can embed media from Studio in any feature area with the Rich Content Editor, including Pages, Assignments, Discussions, and Quizzes. Media is embedded using the Arc LTI tool.
When embedding media in Canvas, comments are enabled by default, but you can choose to disable comments. Embedded media views are included in analytics.
Create a New Item in your Course
Add a Page, Assignment, Discussion or Quiz .
. 

Open the Rich Content Editor
Click Edit to view the Rich Content Editor (RCE)
Click on the More External Apps icon (downward arrow), then select Arc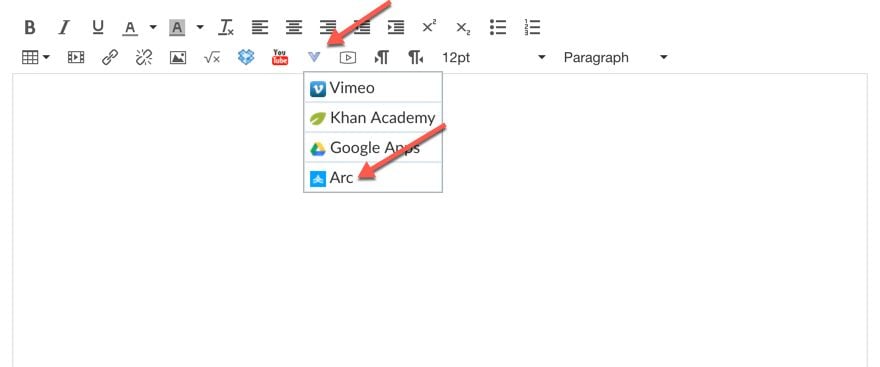
To Select your Video
If the video you are looking for is not listed under My Uploads, click on the 3 blue lines next to My Uploads
![]()
Select Shared with Me
Select your desired video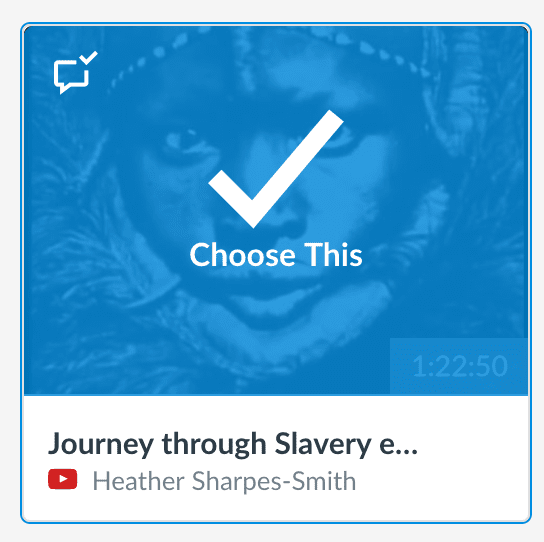
The video will appear in your RCE.
You can add content before or after the video.
Click Save & Publish when complete
NOTE (July 24, 2019): At this time the makers of Canvas have not renamed the Arc LTI to Studio LTI. These instructions use the Arc name for consistency. Everything will be updated once the name of the LTI has officially been changed.
——
As an instructor, you can add an Arc video or audio file as a module item through external tools.
Open Modules
In Course Navigation, click the Modules link.
Create a New Module
Add Module item![]()
Click the Add Item button, which is the + sign.
Add External Tool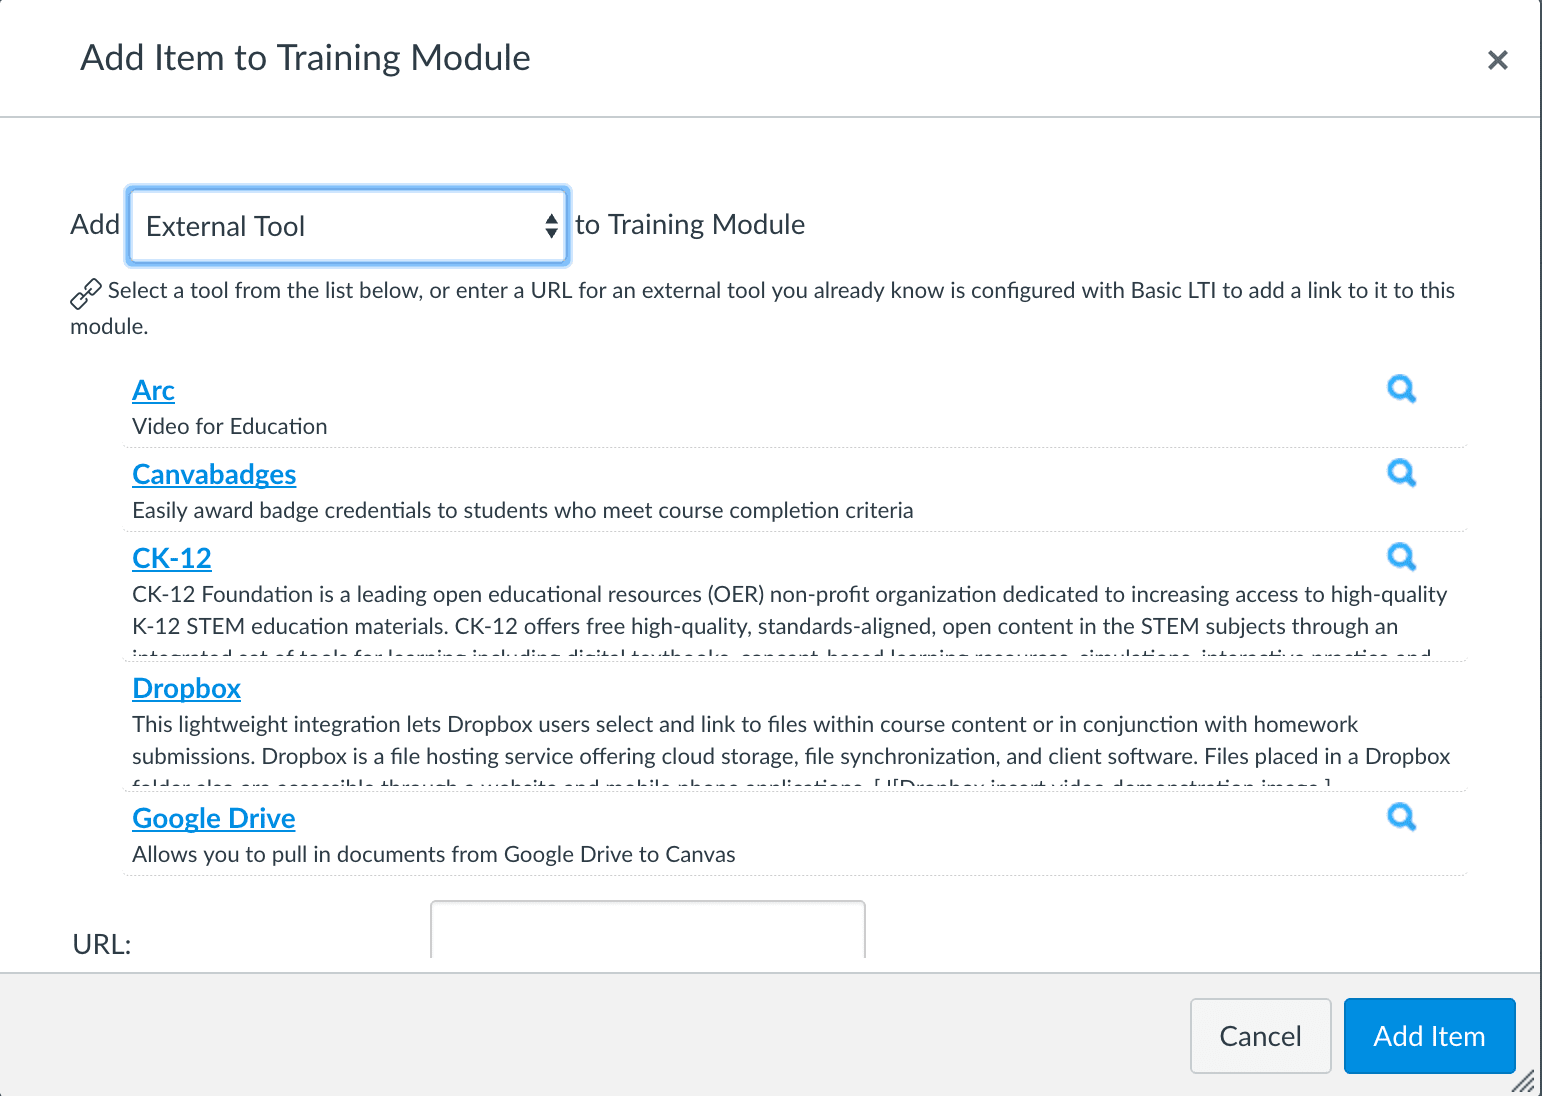
From the Add Item dialogue box select External Tool, then select the Arc tool.
Locate Video
![]()
If the video for which you are searching is not listed, click on the 3 blue lines next to My Uploads
Choose Shared with Me
Choose Video
Select the video to be used
Add Item
To have the media open in a new browser tab, click the Load in a new tab checkbox. Choose whether or not to indent the item in the module drop-down menu. Click the Add Item button.
The video will appear in your RCE. You can add content before or after the video.
View Module
You will still need to publish the Module item by clicking on the cloud symbols. You know they are published when they turn green.
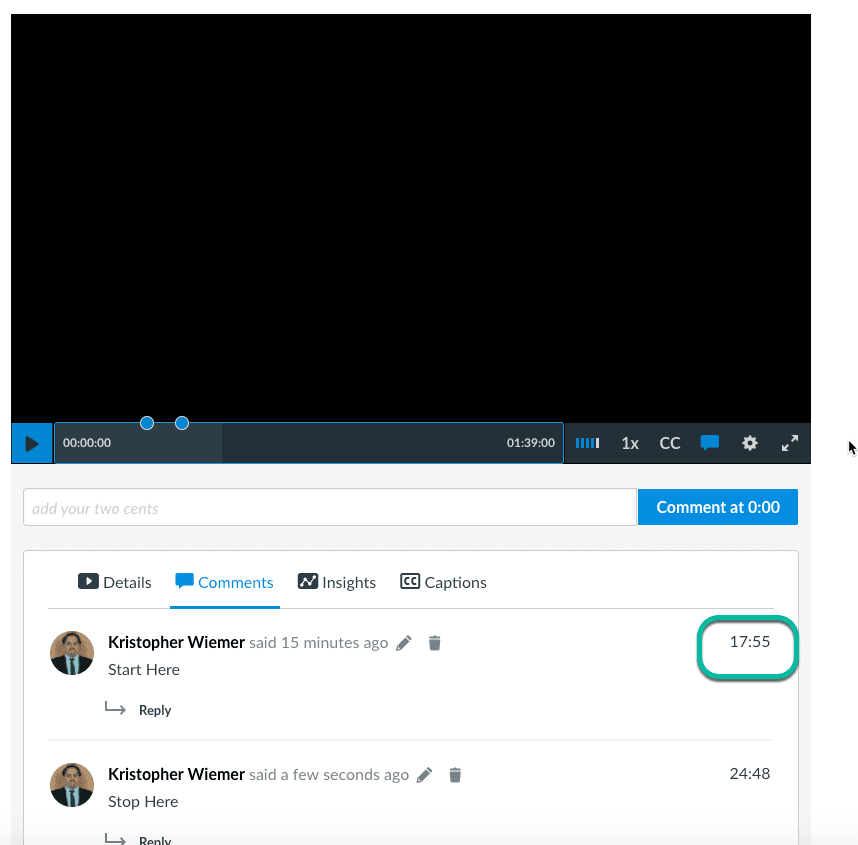
There may be times when students need to only watch a small portion(s) of video. Canvas Studio provides the facility for leaving comments where start and stop points exist. Follow these steps for creating start and stop points. Please note, a video may have multiple start and stop points.
- Go to the video inserted in the course site
- Click on the Play icon to begin video
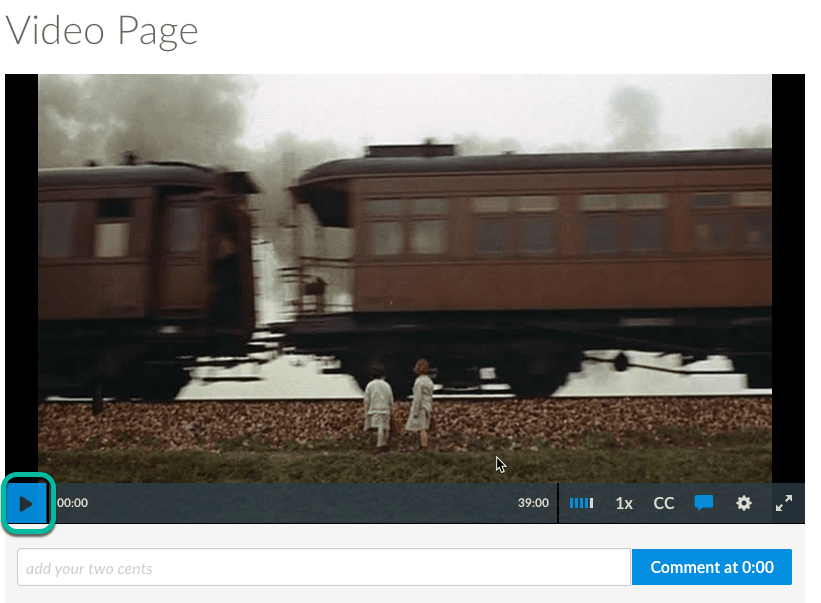
- Using the mouse, click and drag the indicator on the Progress Bar under the video to the desired start location. Alternatively, let the video play until arriving at the desired start location.
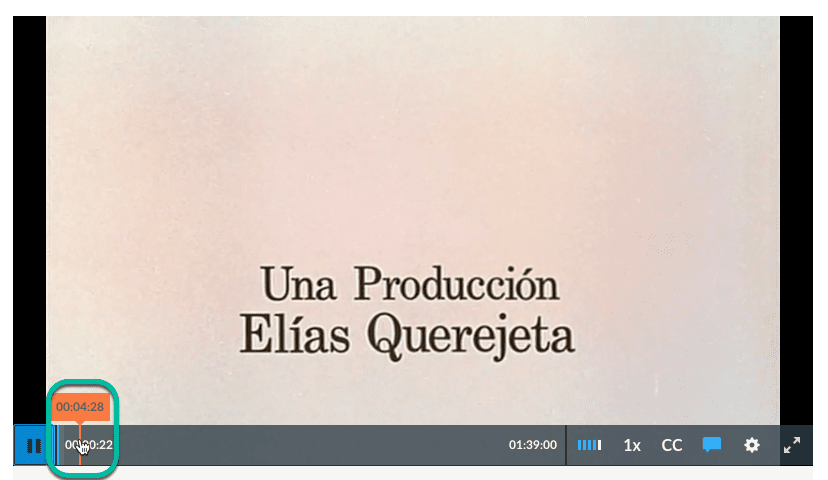
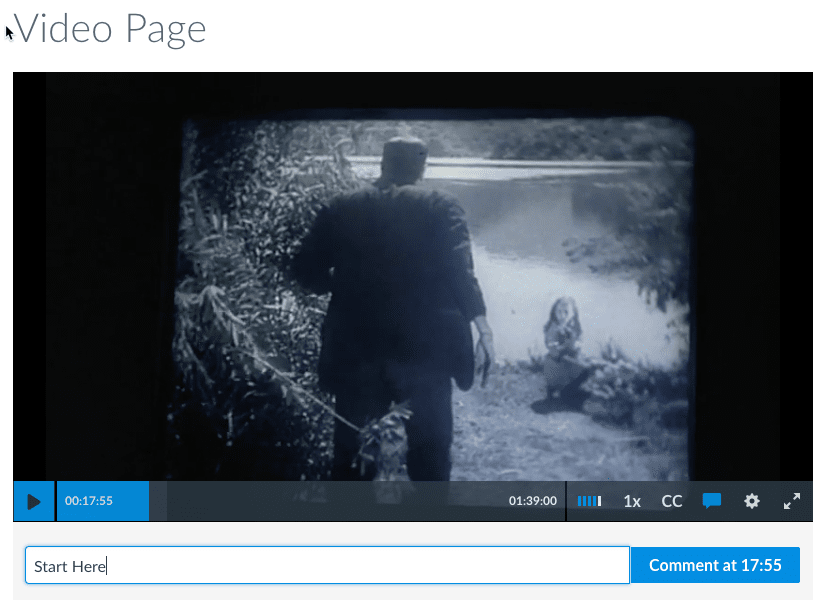
- Once at the desired start location, click in the Comment box and begin typing Start Here (or something similar)
- Once typing begins, the video will pause
- When done typing, press the Enter key to record the comment and resume playing the video
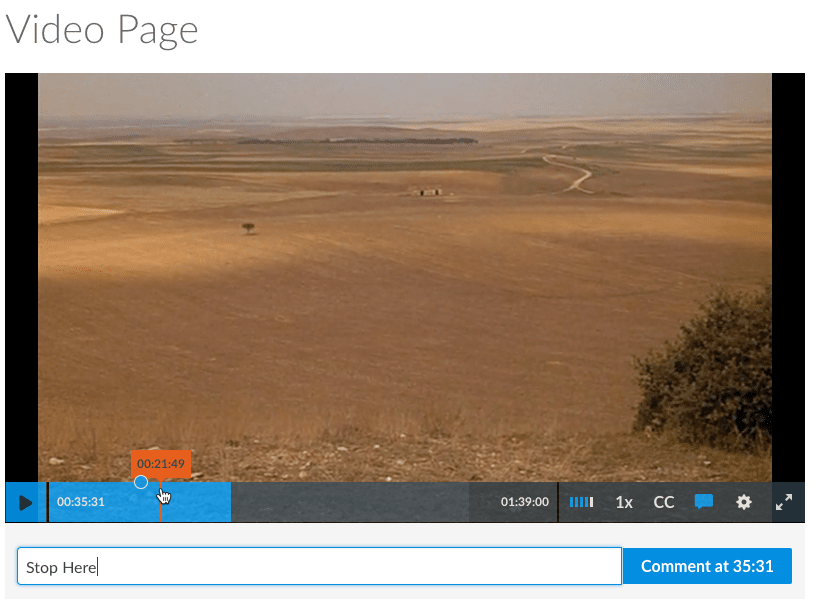
- Using the mouse, click and drag the indicator on the Progress Bar under the video to the desired stop location. Alternatively, let the video play until arriving at the desired stop location.
- Once at the desired stop location, click in the Comment box and begin typing Stop Here (or something similar)
- Once typing begins, the video will pause
- When doing typing, press the Enter key to record the comment and resume playing the video
- Repeat for any additional Start and Stop points
All comments are automatically saved.
When students open the video location (e.g., Assignment, Discussion, Page), they will see the video displayed in a box with a comment box underneath.
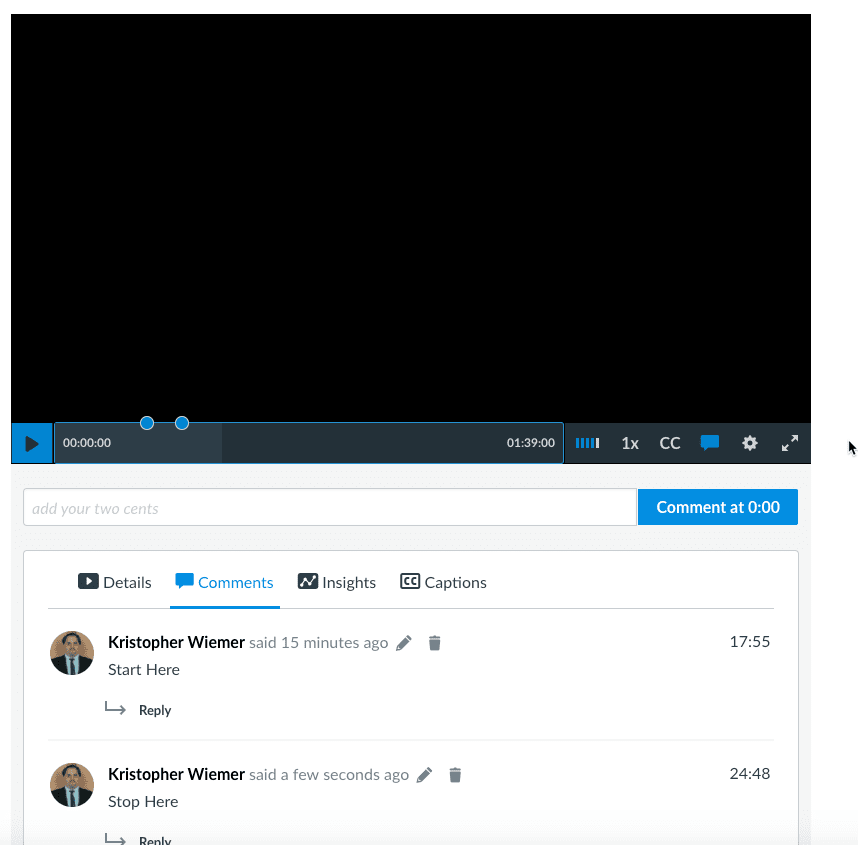
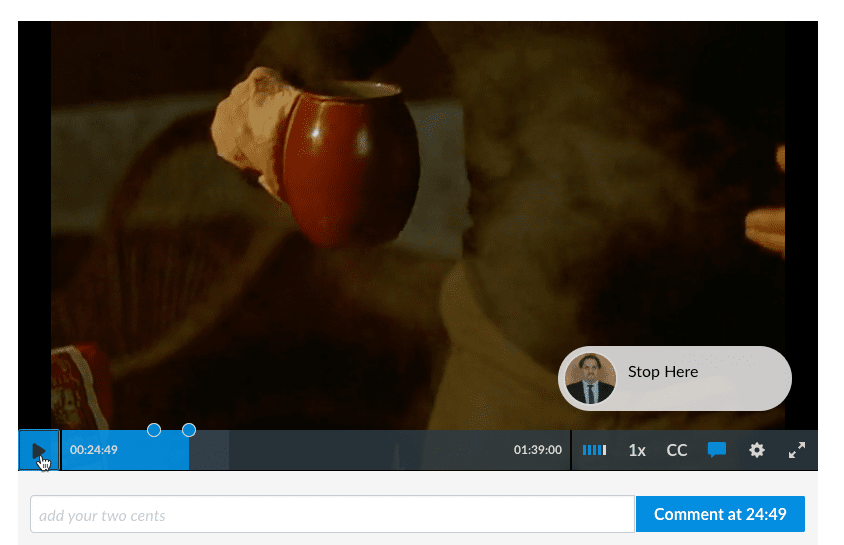
To play the video from the teacher defined Start point, the student should click on the time stamp to the right of the comment. The video automatically advance to that point and begin playing.
When the video reaches the Stop point, a comment will appear in the video display. At that point, the student can stop the video by clicking on the Pause button.
The student can rewatch the video as many times as necessary.