Canvas

Canvas Training and Tutorials

ITS offers training (1:1, small group, large group) throughout the summer and school year by appointment and scheduled workshops.
If there is a specific topic you would like to learn more about, please contact Kris.

We have subscribed to Instructure’s (makers of Canvas) Tier One Support which provides 24/7/365 support via dedicated online chat and phone support.  We have a dedicated number and chat specialist to assist with any questions you may have as you build out your Canvas course.

We have created a series of self-paced, online courses that guide you through a variety of topics with the opportunity to earn badges to show your completion. Login to Canvas required.

  • Canvas Basics – Topics covered include Navigation, User Settings, Communication, Rich Content Editor, and Adding Content
  • Canvas Syllabus and Assignments – Topics covered include Syllabus tool, creating Assignments, creating Discussions, and using the Calendar
  • Canvas Grading and Comments – Topics covered include using the GradeBook, Rubrics, and using SpeedGrader
  • Canvas Advanced – Topics covered include using HTML, Quizzes, Collaborations, and Conferences.
  • Canvas and G Suite – Topics covered include accessing G Suite in Canvas, using G Suite for assignments, and integration G Suite documents with Canvas
  • Canvas and Arc Media – Topics covered include adding content to Arc, using Arc in Canvas, and how to interact with Arc through discussions.

In addition, you can find great tutorials (text/image and video) on the Canvas Community web site:

As an additional Canvas support resource, we have invested in Instructure’s Tier One Support Program.  This program provides you with 24/7/365 support from anywhere in the United States.  This is a dedicated service for our faculty only.
This service is not a replacement for our support, but an additional support option to aid you during times when you are away or are working at a time when we are not available (e.g., weekends, late nights, vacations).  Instructure provides us with a report of who has called and for what issues so that we can provide follow-up and plan additional training for the community.
You can access this service from within Canvas (must login first) by clicking on the Help menu in the lower left corner of your screen.
HelpButton
When you click on the Help menu icon, you will be presented with a series of options (see image below).  You can initiate a phone call with a support person by calling the number listed.  You can initiate a chat support by clicking on the Chat listing.
TierOneSupport
 

Posting Content via Modules

  • Click on Modules in Course Navigation Menu (left side of screen)
  • Click on + Module in upper right corner


  • Enter the Module Name and click Add Module


  • Repeat to create additional Modules
  • Module Name can be modified by clicking on gear icon to right of name.


  • Modules can be moved up and down by clicking on dots to left of Module Name and dragging to new position.

NOTE: Modules can be used with other organizational formats to create a robust site.

  • To add items to a Module, click on the + next to the Module Title
  • The Add Item to <module name> will appear on the screen
  • A brief explanation of Add Item options:

 AddModule4

  • Assignment – create new assignment (electronic or manual submission)
  • Quiz – create online quiz or survey
  • File – upload a file to be made available to course participants
  • Content Page – create a page of your own content
  • Discussion – create an online forum for discussion
  • Text Header – create a header for Module organization
  • External URL – link to a website outside of Canvas
  • External Tool – create an embedded object from a tool not part of Canvas (e.g., VoiceThread, YouTube, ChemVantage)
  • From Add Item pop-up window, select File
  • If the file is already uploaded, select file from displayed list
    • Use the Indentation drop down menu to select how deep to indent the linked file
    • Click Add Item to create link and return to Modules page

 AddFile1

 
If the file needs to be uploaded, select New File

AddFile2

  • To upload the file, you can either
    • Drag the file from your Desktop (or other computer location) and drop it onto the Browse button; or
    • Click on Browse. Locate the file to be uploaded via the file selection window. Click Open.
  • Select the Folder in which to store the file. The default storage location is course files.
  • Use the Indentation drop down menu to select how deep to indent the linked file
  • Click Add Item to upload the file, create the link, and return to the Modules page.
  • From Add Item pop-up window, select External URL

 AddURL1

  • Enter the URL.  This can be a copy & paste or type directly into the text box.
  • Enter the Page Name.  This is the link that will appear in the module.
  • Check Load in a new tab if you want the web page to load in a new tab
  • Use the Indentation drop down menu to select how deep to indent the linked file
  • Click Add Item to post the link and return to the Module page
  • From Add Item pop-up window, select Text Header

 AddHeader1

  • Text Headers are used to organize content within a module.
  • Enter the Header in the text box
  • Use the Indentation drop down menu to select how deep to indent the linked file
  • Click Add Item to post the header and return to the Module page
  • From Add Item pop-up window, select Content Page

 AddPage1

  • If the page has already been created, select page from displayed list
    • Use the Indentation drop down menu to select how deep to indent the linked file
    • Click Add Item to create link and return to Modules page


  • To create a new page, select New Page from the displayed list

AddPage2

  • Enter a Page Name in the text box
  • Use the Indentation drop down menu to select how deep to indent the linked file
  • Click Add Item to create the new page and return to the Modules page
  • After the Modules page has loaded, click on the page link

AddPage3

  •   After the page loads (it should be blank), click Edit

AddPage4

  • When the Page Edit window appears, you may begin adding content.

AddPage5

  • To add content to your page, you will use the Rich Content Editor (RCE).  The RCE is very similar to what you use in MS Word, DAinfo, and Moodle. You can choose font styles (bold, italics, underline), font size, font color, background color, alignment, indentation, bullets, tables, hyperlinks, and more.  You can also easily link to other content within Canvas via the Insert Content into the Page dialog box on the right side of the screen.
  • When done, click Save or Save & Publish.

Remember nothing is visible to students until published.

Using the Rich Content Editor

RCE = Rich Content Editor

AddContentInPage

  • The Insert Content into the Page dialog box allows you to add links to any content that has been created in or uploaded to Canvas.
  • By highlighting text in your RCE window, you can add a link to a specific page or activity from within your Canvas site, by clicking on the Links tab and then selecting the appropriate item.  The selected text will flash briefly and a hyperlink will appear to the selected item/activity.
  • By highlighting text in your RCE window, you can add a link to a specific file from your Canvas site, by clicking on the Files tab and selecting the appropriate file.  The selected text will flash briefly and a hyperlink will appear to the selected file.
  • To add an image, place your cursor at the location within the RCE window and click on the Images tab.
    • If the image is already uploaded, select the image name and the image will appear in your RCE window.
    • If the image needs to be uploaded,
      • Select Upload a new image.
      • Choose a destination from the Folder drop down menu
      • To upload the image, you can either
        • Drag the image file from your Desktop (or other computer location) and drop it onto the Browse button; or
        • Click on Browse. Locate the file to be uploaded via the file selection window.  Click Open.
      • Click Upload and the image will upload to Canvas and appear in your RCE window.
      • Click on the image and use the handles in the four corners to adjust size.
      • Use the alignment buttons on the RCE top menu board to arrange image on screen


RCE = Rich Content Editor

AddMedia1

  • Adding content from YouTube
    • Click on the YouTube icon in the middle of the second row of the RCE menu
    • Search for your video
      • You can use key words or enter the URL (if you know it)
    • Click on the Embed link and select how you would like the YouTube video displayed (link, small video, medium video, large video)
    • Video will embed in RCE window
  • Adding content from Vimeo or YouTube for Schools
    • Click on the down arrow next to the YouTube icon and select either Vimeo or YouTube for Schools
    • Search for your video
      • You can use key words or enter the URL (if you know it)
    • Click on the Embed link and select how you would like the YouTube video displayed (link, small video, medium video, large video)
    • Video will embed in RCE window
  • Add your own media
    • Click on the Movie Strip icon

AddMedia2

  • To create your own recording, select the Record Media tab
    • Click Allow when the Adobe Flash Player Settings pop-up appears
    • Give your recording a Title
      • To record video, click on the camera icon
      • To record audio only, click on the microphone icon
    • Click on the red dot to begin recording
    • Click on the white square to stop recording
    • After the recording has stopped, it will auto-play so you can check the recording
      • If you are happy with the recording, click Save
      • If you are not happy with the recording, click the record button and click Yes when asked to Record again without saving?
    • The audio/video recording will appear in the RCE window
  • To upload an audio/video recording already on your computer, select Upload Media
    • Click on Select Audio File to upload an audio only recording
    • Click on Select Video File to upload a video recording
    • Locate the file you wish to upload and click Open
    • The file will upload to Canvas and display in the RCE window

Course Home Page

Setting a Home page for your Canvas Course

You have the ability to decide what students will see when they click into your course. You can change your Course Home Page to one of these five options:

  • Recent Activity Dashboard
  • A Page
  • Course Modules
  • Assignment list
  • Syllabus

To set your Course Home Page follow the instructions below:

Open a Course

In the Global Navigation, click the Courses link [1]

Screen Shot 2016-08-31 at 4.23.52 PM

Choose Home Page

Screen Shot 2016-08-31 at 4.23.58 PM

In the Home Page sidebar, click the Choose Home Page button.

Select Home Page Layout

Screen Shot 2016-08-31 at 4.24.07 PM

Click the radio button next to the Home Page layout you prefer.

Set Front Page

Screen Shot 2016-08-31 at 4.24.13 PM

If you want to select a Pages Front Page but the link is grayed out, you must first set a Front Page.

Note: Only Published pages can be set as the Front Page. Make sure the page you want to set as the Front Page is published.

Save Home Page Layout

Screen Shot 2016-08-31 at 4.24.19 PM

Click the Save button.

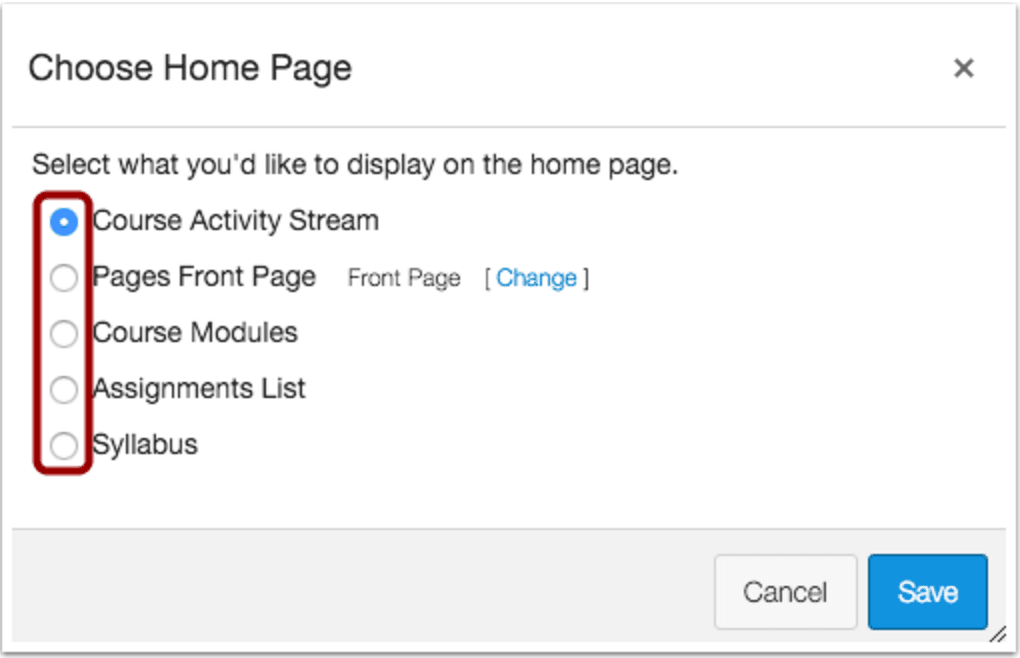
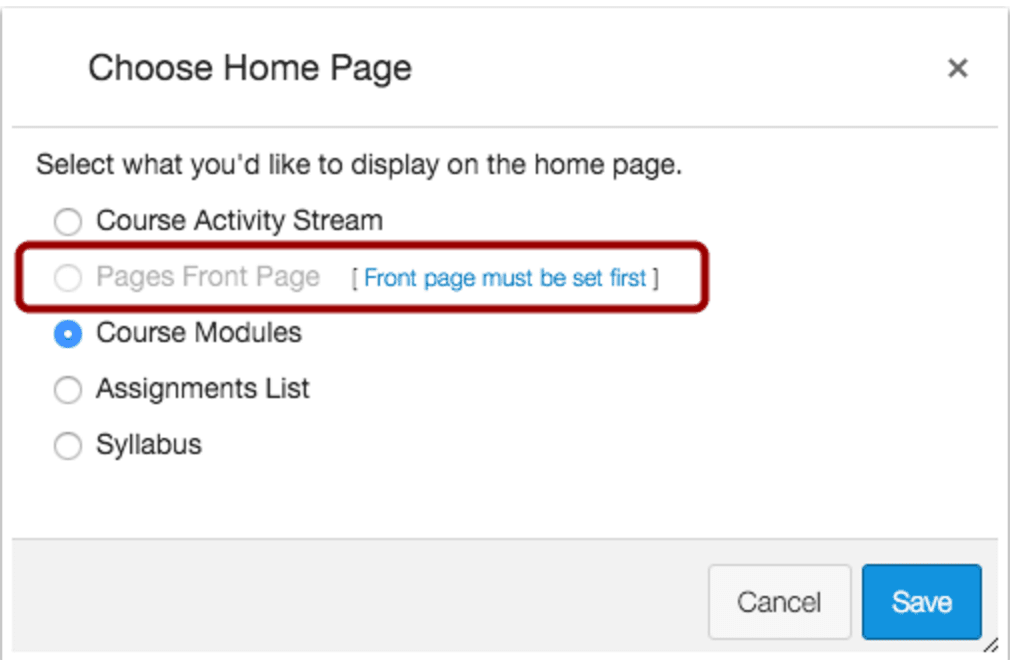
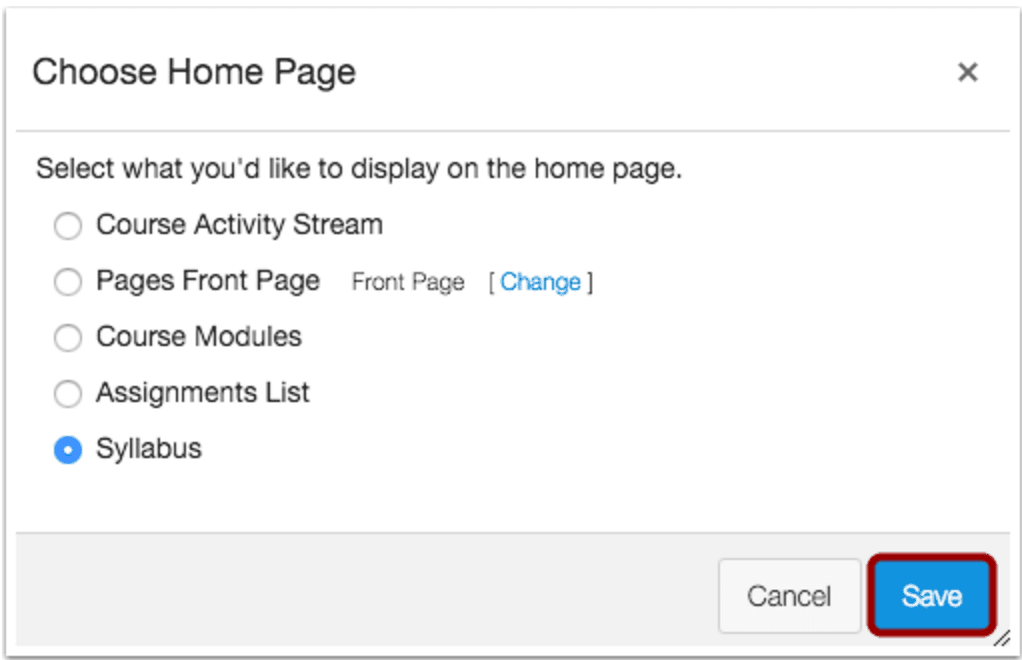
If you want to change the Course Home Page to the Pages Front Page, you must first set a page as the Front Page.

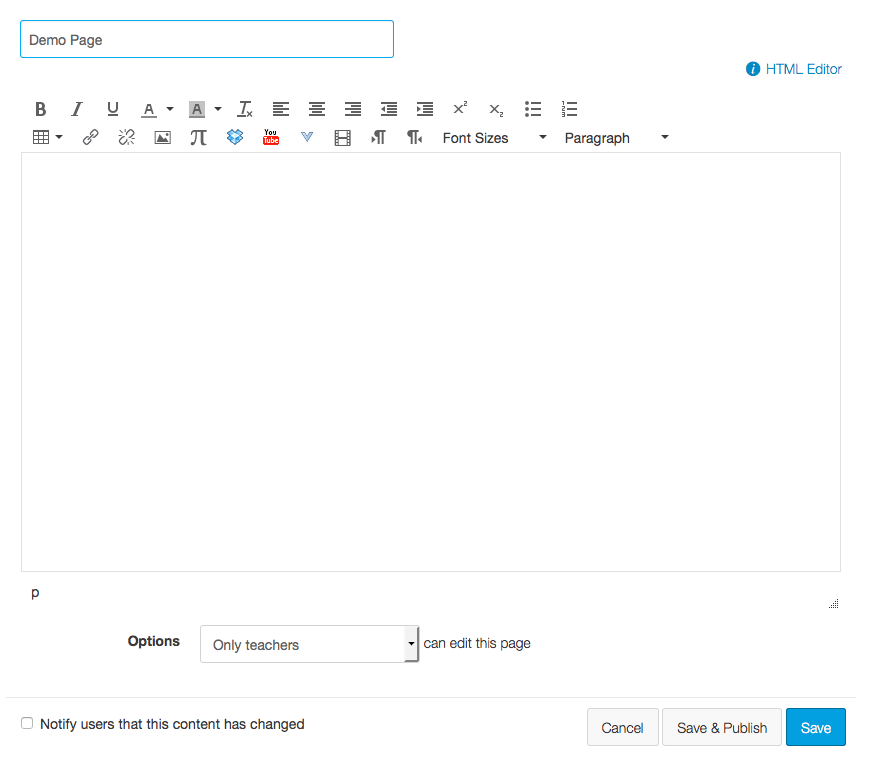
The Front Page is the first page your students will see when they enter your course. Use this page to show a welcome message, links, images, or other information for students.

Notes:

  • Before setting the Front Page, the page must be published.
  • Once you set a Front Page, you cannot remove the Front page. However, you can change the Front Page as much as you would like, or set another page as the Front Page.
  • Before setting a Front page, the Pages link in Course Navigation will open to the Pages Index. However, once you have selected a Front Page, the Pages link will always open to the Front Page. To return to the Pages Index, click the View All Pages button.
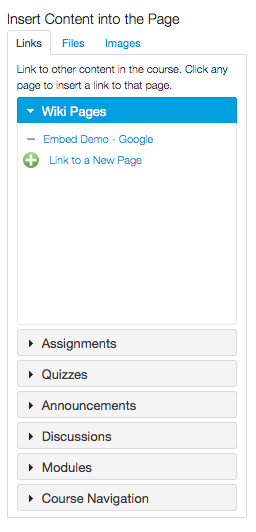
Open Pages

Open Pages

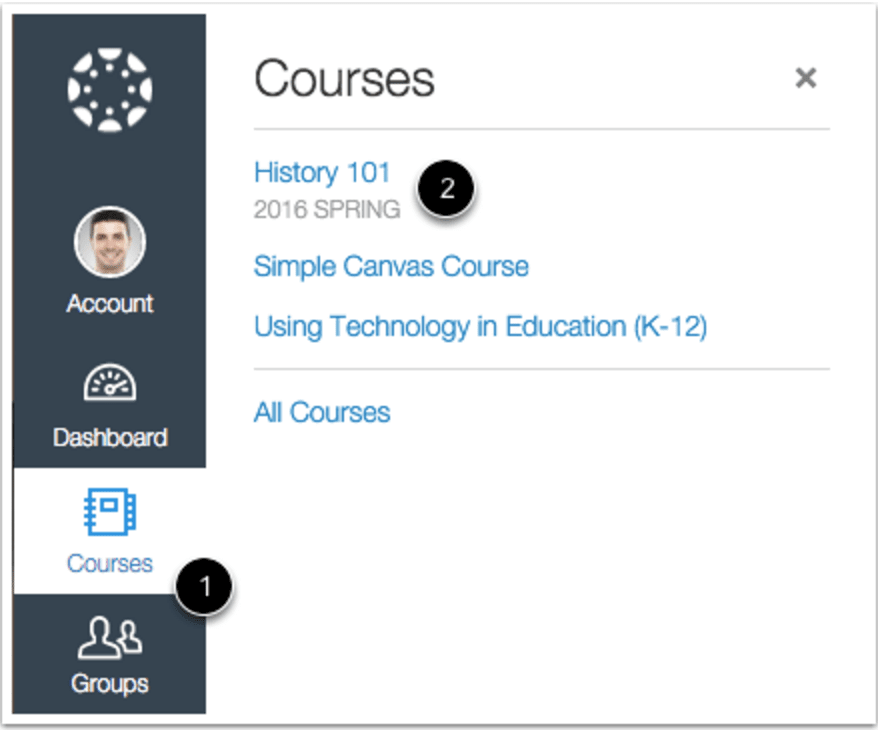
In Course Navigation, click the Pages link.

Use as Front Page

Use as Front Page

Locate your published front page that you want to set as your Front Page [1]. Click the page Settings icon [2] and select the Use as Front Page button [3].

View Front Page

View Front Page

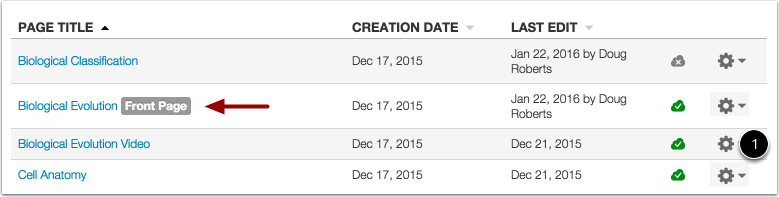
Once set, the Front Page cannot be removed. The Front Page will be indicated by a gray Front Page tag.

You can change the Front Page to any other page in the course by selecting the page Settings icon.

Google and Canvas